There are few dishes that evoke as much comfort and domestic nostalgia as the Tuna Pasta Salad. For many, it is the cornerstone of a summer picnic, a reliable staple of the communal potluck, or the quiet hero of a Sunday afternoon meal prep. Yet, despite its ubiquity, the Tuna Pasta Salad is frequently undervalued and poorly executed. When treated with the respect it deserves, it transcends its humble reputation to become a sophisticated study in creamy emulsification, briny depth, and textural contrast.
To craft a truly exceptional Tuna Pasta Salad is to engage in a delicate balancing act. It requires the gentle folding of tender starch, the oceanic richness of preserved fish, and the sharp, refreshing snap of garden vegetables. This is not merely a “dump-and-stir” recipe; it is a culinary mosaic that relies on the harmony of its constituent parts. This guide serves as the definitive manifesto for the Tuna Pasta Salad—moving beyond the basic “deli-style” version into a realm of artisanal execution.
1. The Philosophy of the “Creamy-Briny” Spectrum
The success of a Tuna Pasta Salad lives or dies by the viscosity of its dressing and the quality of its protein. Unlike a vinaigrette-based salad, which aims for a light, acidic coating, a tuna salad requires a “clinging” dressing—one that binds the tuna flakes to the curves of the pasta without becoming a heavy, oily slurry.
1.1 The Protein Anchor: Sourcing the Sea
The tuna is the “heart” of the dish. For an artistic result, avoid the “mushy” varieties of canned tuna. Seek out Solid White Albacore or, for a truly Mediterranean flair, Tonno all’Olio (tuna packed in olive oil). Tuna packed in oil retains a silky, luxurious mouthfeel that water-packed varieties lack. When flaked, it should maintain its structural integrity, providing “meaty” chunks rather than a fine paste.
1.2 The Starch Scaffold: Choosing the Vessel
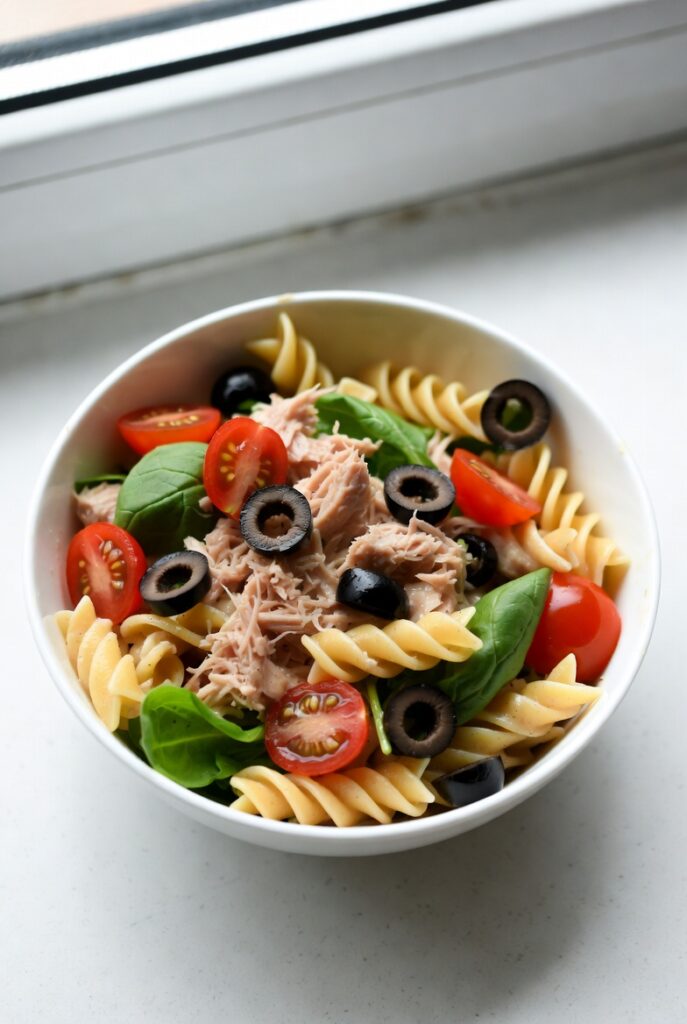
The pasta is the “canvas.” You need a shape with high “surface-area-utility.” Rotini (spirals), Shells (conchiglie), or Fusilli are ideal. Their nooks and crannies act as mechanical traps for the small bits of celery, onion, and tuna. If the pasta is too smooth (like Penne), the ingredients will slide to the bottom of the bowl, leaving you with a disjointed eating experience.
2. The Anatomy of Ingredients: The Curator’s Palette
To create a masterpiece, every element must contribute a specific sensory note: crunch, salt, acid, or cream.
2.1 The “Crunch-Brigade”
- Celery: The non-negotiable architectural support. It provides the “acoustic snap” that breaks the softness of the pasta.
- Red Onion: For a sharp, zesty “bite” that cuts through the creaminess of the mayo.
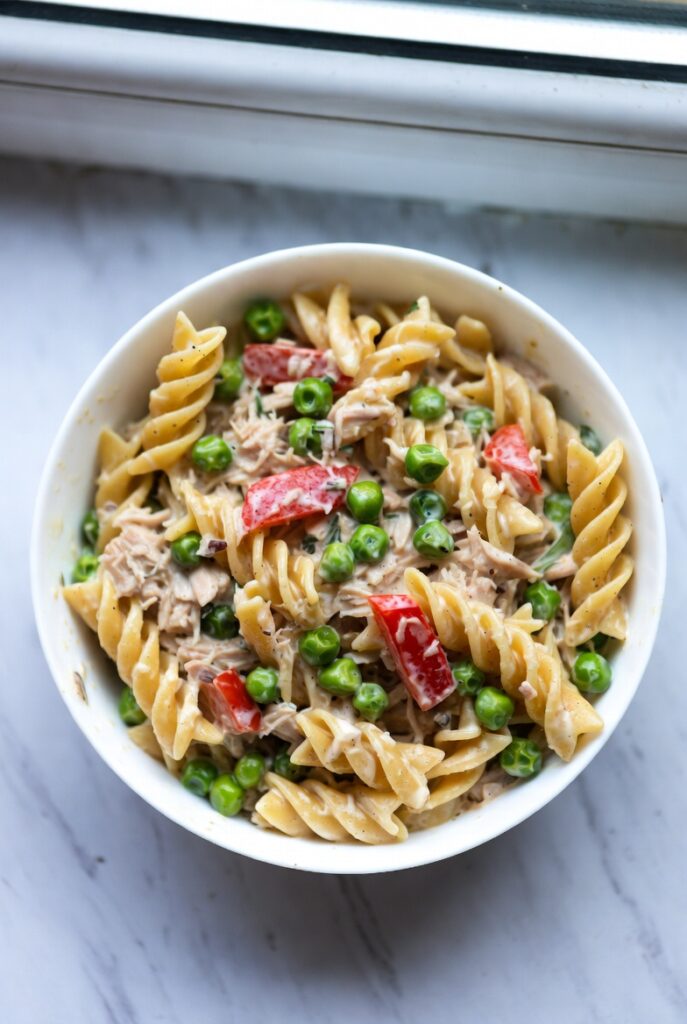
- Sweet Peas: These provide a “pop” of sweetness and a vibrant green visual contrast.
2.2 The “Acid-Brighteners”
- Dill Pickles or Capers: These provide the “briny-spark.” They act as the high-notes that wake up the palate.
- Fresh Lemon Zest: A secret weapon that adds a floral, citrusy aroma without thinning the dressing with excess liquid.
2.3 The “Velvet-Binder”
- Mayonnaise: Use a high-quality, egg-rich variety.
- Greek Yogurt (Optional): Swapping 25% of the mayo for Greek yogurt adds a subtle tang and lightens the “lipid-load” of the dish.
- Dijon Mustard: The emulsifier that brings depth and a hint of spice.
3. The Ritual of Assembly: Step-by-Step Artistry
Step 1: The “Salt-Water” Pasta Boil
Boil your pasta in water that “tastes like the Mediterranean.” Because the salad is served cold, the pasta will naturally lose some of its flavor perception. You must season it aggressively during the boil. Cook it exactly to al dente. Overcooked pasta will turn to mush when folded with the tuna; it needs a resilient “backbone.”
Step 2: The “Flash-Cooling” Method
Once drained, do not simply let the pasta sit and steam. Rinse it briefly with cold water. This removes excess surface starch—preventing the salad from becoming a gummy mass—and stops the cooking process instantly. Pat it dry; water on the surface of the pasta is the enemy of a creamy dressing.
Step 3: The “Dressing-Infusion”
In a small bowl, whisk your mayo, Dijon, lemon juice, and plenty of fresh dill. Do not add this to the pasta yet. First, flake your tuna into a separate bowl and toss it with a tablespoon of lemon juice. This “brightens” the fish before it enters the emulsion.
Step 4: The Folding Ceremony
Combine the cooled pasta, the flaked tuna, and your “crunch” elements (celery, onions, peas). Pour the dressing over the top. Use a large silicone spatula to fold—rather than stir—the ingredients. You want to coat every spiral of pasta while keeping the chunks of tuna intact.
4. The Science of the “Resting Phase”
A Tuna Pasta Salad is a living ecosystem. Immediately after mixing, it may taste slightly “sharp” or “disconnected.” It requires a minimum of 2 hours in the refrigerator to reach its peak.
During this resting phase:
- Osmosis occurs: The pasta absorbs a small amount of the dressing’s moisture, deepening its flavor.
- Flavor Integration: The oils from the tuna and the aromatics of the onion meld with the mayonnaise to create a cohesive “third-flavor.”
- Thermal Stabilization: Serving the salad at exactly 4°C (40°F) ensures the fats in the mayo are stable and the vegetables are at their maximum “snap-potential.”
5. Troubleshooting: Perfecting the Craft
- “My salad is dry the next day”: Pasta is a sponge. It will continue to drink the dressing overnight. If serving leftovers, “refresh” the salad with a tablespoon of Greek yogurt or a splash of olive oil to restore the glossy sheen.
- “The onion is too strong”: If your red onion is particularly “hot,” soak the diced pieces in ice water for 10 minutes before adding them. This removes the harsh sulfur compounds while keeping the crunch.
- “It lacks ‘Pop'”: You are likely missing acid. Add more lemon juice or a dash of old bay seasoning to bridge the gap between the fish and the dairy.
6. Artistic Variations: Expanding the Horizon
While the classic version is iconic, the “Cooking Art” way encourages personal expression:
- The “Nicoise” Pivot: Add blanched green beans, halved hard-boiled eggs, and niçoise olives.
- The “Spicy-Calabrian”: Incorporate chopped Calabrian chilis and swap the peas for sun-dried tomatoes.
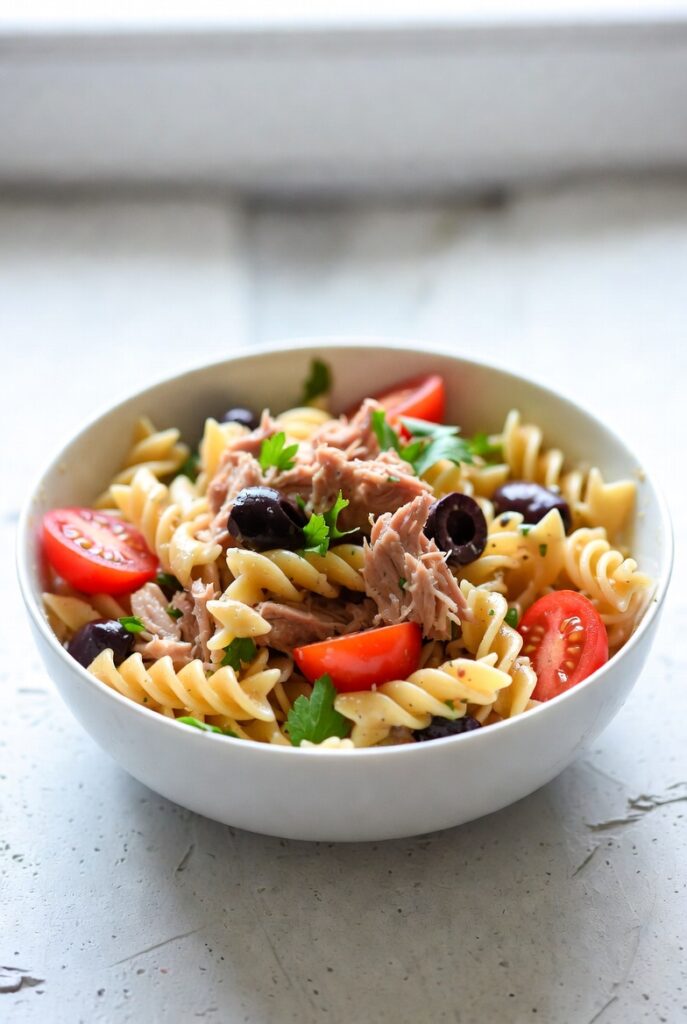
- The “Herb-Garden”: Use a massive volume of fresh tarragon, chives, and flat-leaf parsley for a verdant, aromatic experience.
7. The “Visual Gravity” of the Table
Presentation is the final act of the artist. Do not serve a Tuna Pasta Salad in a deep, dark bowl where it looks like a monochromatic clump. Choose a wide, shallow ceramic platter. Garnish with:
- Fresh Dill Sprigs: For height and aroma.
- A Dusting of Smoked Paprika: For a pop of color and a hint of woodsy depth.
- Lemon Wedges: To signal the freshness of the ingredients.
8. Conclusion: The Simple Beauty of a Dish Well-Made
The Tuna Pasta Salad is a reminder that excellence does not require expensive truffles or complex techniques. It requires an eye for detail, a respect for the “Al Dente” state, and a commitment to the balance of flavor. By treating each component—the pasta, the tuna, the dressing—as an individual instrument in an orchestra, you create a dish that is far more than the sum of its parts. It is a meal that satisfies the soul as much as the appetite, a true masterpiece of the everyday kitchen.